Field manual · September 9, 2026
Castle Busters Beginner Checklist: Upgrades and Arena 7
Check victory conditions, the eight-unit limit, upgrade choices, Forge features and dated hero access notes before your next match.
Play one match, note whether your units or castle failed first, change one unit, position, or upgrade tied to that failure, then replay. Treat Arena 7 as the first named checkpoint and keep wider spending on hold until the same change helps twice.
Field order
Start with the two ways a match ends
Castle Busters lists two victory conditions: eliminate every enemy unit or destroy the enemy castle. Read your own losses with the same split. Did your squad disappear first, or did the castle break while useful units were still fighting?
Write down that result before spending. A short note or screenshot is enough. The next change should answer the failure you saw, rather than a notification, rarity, or general tier-list claim.
Field order
Check the unit limit before changing your squad
The official site says a squad can contain up to eight unique units. Eight is a ceiling, not a request to fund eight separate upgrade projects immediately. Start with the units you can field, then change one slot or position at a time.
Use the table below after a loss. Replay a comparable fight after the change. If the same failure returns, stop spending in that direction and test a different cause.
| What failed first | Inspect | Change next | Stop condition |
|---|---|---|---|
| Units | Role and firing line | Replace or reposition one unit | Same unit failure repeats |
| Castle | Exposure, movement and durability | Move once or test one castle upgrade | Castle still breaks at the same stage |
| Enemy units survive | Aim and dependable damage | Retest one damage source | No clear improvement after replay |
| Placement effect is missing | Neighbor, row or column condition | Move one placement-sensitive hero | Effect still does not trigger |
Field order
Spend against one bottleneck
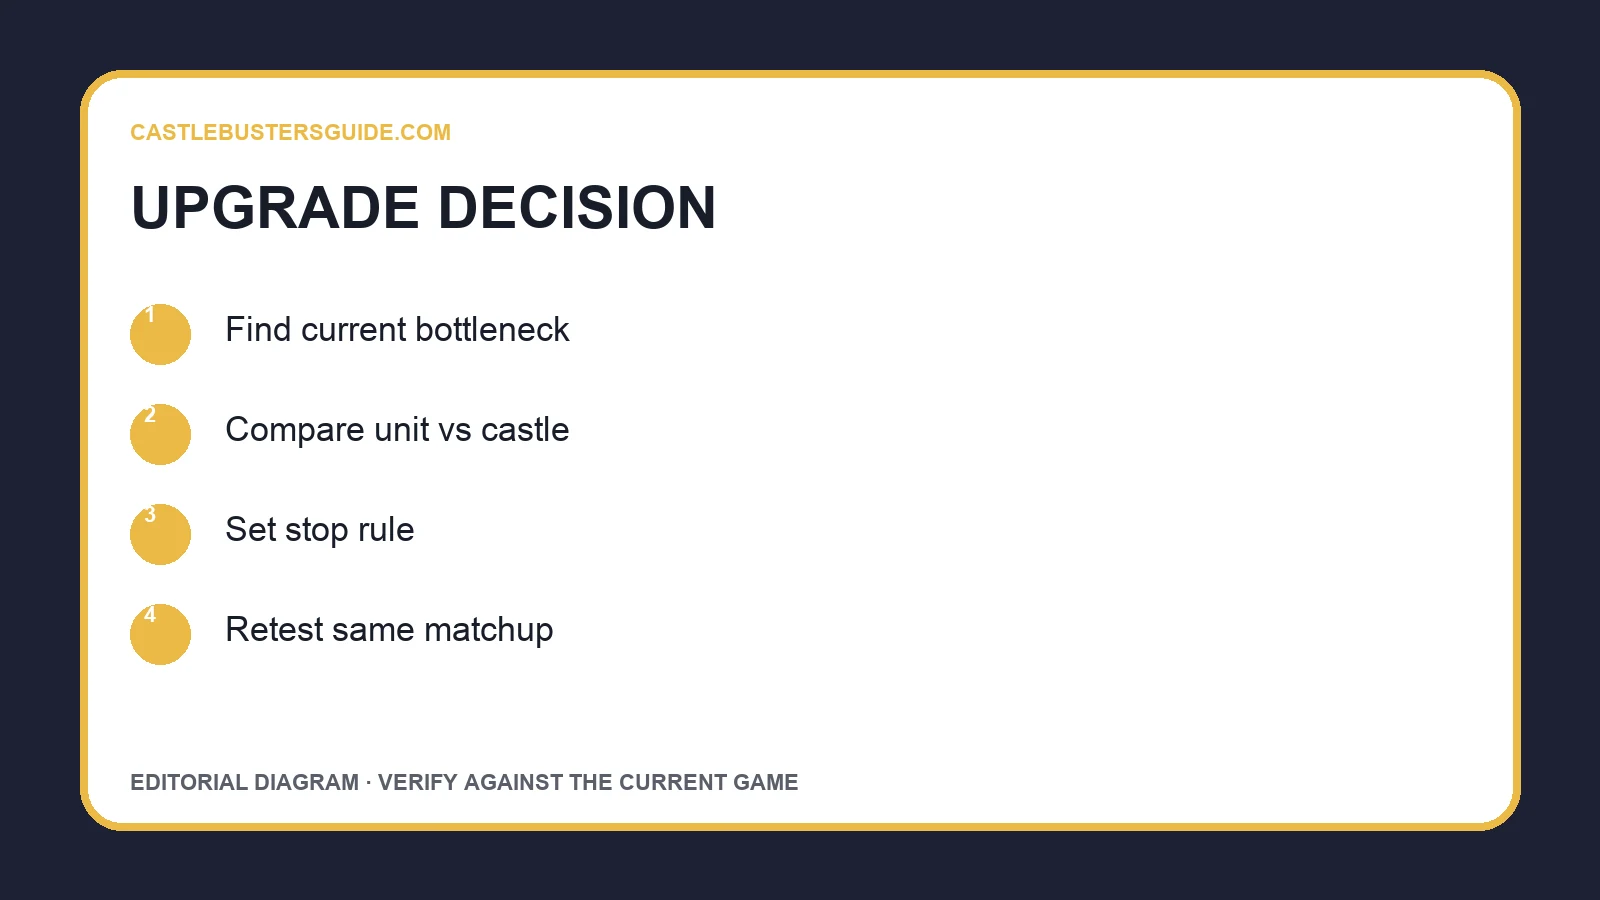
The official overview confirms unit upgrades, castle upgrades, and multiple material tiers. It does not publish a universal first-spend order. That makes a fixed upgrade chart less reliable than matching one purchase to one observed problem.
Buy the smallest available change that could affect the failure, then replay. If the failure category does not move, stop. Save broader spending until a useful change survives a second comparable test.
Field order
Add movement, structures and Forge items deliberately
Wheels move the castle. The Forge provides wheel sets with different attributes, including speed and fuel, plus offensive and defensive helper items. Use these systems to test a specific problem such as exposure or reach.
The public pages do not state exact unlock thresholds, drop rates, or one best wheel set. Keep those values unknown until the current client shows them. Test one movement or helper-item change and record the trade it creates.
Field order
Use Arena 7 as the first named checkpoint
Patch 1.16 labels Sir Rally as free at Arena 7 and Leif as free at Arena 25. Treat those as dated access labels, not proof that either hero is already claimed on your account. Wolfie is labelled Battle Pass exclusive in the same patch.
Placement matters for all three examples. Sir Rally boosts allies directly around him. Leif revives fallen allies in his row after he kills an enemy unit. Wolfie transforms after an adjacent ally is eliminated. Test the named condition before judging the hero.
| Hero | Patch 1.16 label | Placement check |
|---|---|---|
| Sir Rally | Arena 7 · Free | Allies directly around him |
| Leif | Arena 25 · Free | Fallen allies in his row after his kill |
| Wolfie | Battle Pass Exclusive | An adjacent ally is eliminated |
Field order
Reset the route only when the evidence changes
Patch 1.17 fixed a unit-position problem when swapping units, so an older failed placement test may no longer describe the current build. Retest after a patch changes the behavior you measured or when your losses shift to a different cause.
The same patch says in-game support is available under Settings and Help Center. The public note does not show every nested tap. If your screen differs, open the visible Help Center entry and report the mismatch rather than forcing an outdated route.
Field order
First-session checklist
Play one baseline match. Record whether the squad or castle failed first. Change one unit, position, movement option, helper item, or upgrade. Replay a comparable fight and stop that line of spending if the same failure returns.
At Arena 7, check the current Sir Rally access label and test his nearby-ally condition if he is available. Keep exact costs, drop rates, and a universal best upgrade order unclaimed until the current client provides them.
Records